Here’s a nice, clean way to set up image roll over effects on your web sites using the new HTML5 data- attributes and a little jQuery.
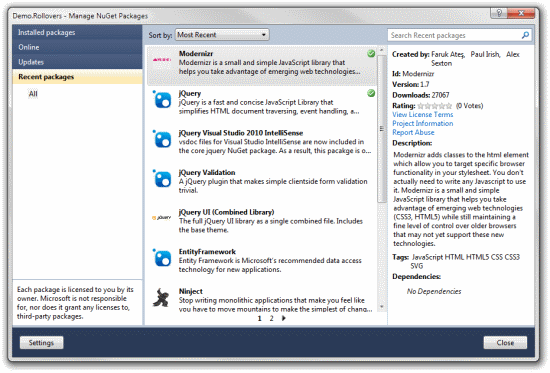
To demonstrate I am going to create a new web project in Visual Web Developer Express 2010. For starters we’ll add the jQuery and Modernizr JavaScript libraries using the Nuget Package Manager.

Next we’ll set up a basic html page with 2 images on it.
<!DOCTYPE html>
<html>
    <head>
        <title>Index</title>
        <script src="/Scripts/modernizr-1.7.min.js" type="text/javascript"></script>
        <link href="/CSS/Demo.css" rel="stylesheet" type="text/css" />
    </head>
    <body>
        <div>
            <h1>RollOver Demo</h1>
            <img src="/Images/wordpress.png" data-hover="/Images/wordpress.hover.png" alt="WordPress" />
            <br /><br />
            <img src="/Images/twitter.png" data-hover="/Images/twitter.hover.png" alt="Twitter" />
        </div>
    </body>
    <script src="/Scripts/jquery-1.7.1.min.js" type="text/javascript"></script>
</html>
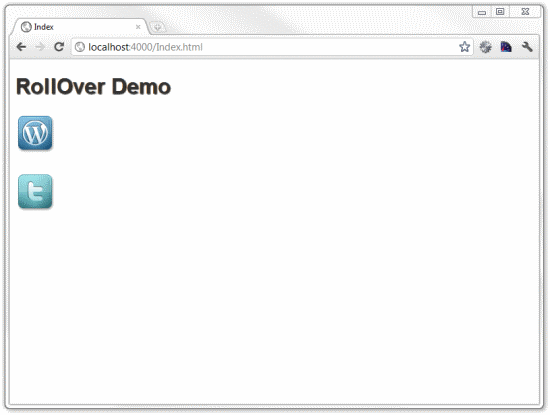
Note the reference to the Modernizr.js script near the top and to the jQuery script near the bottom. Usually I place all my JavaScript references near the bottom so they don’t hold up the loading of the page itself and the images. It is however important to load the Modernizr script near the top so that it can work correctly. If we view our page now it should look something like this:

Next we need to add an external JavaScript file and add the following function inside this file.
function InitRollOvers() {
    $(function () {
        $('img[data-hover]').hover(function () {
            $(this).attr('tmp', $(this).attr('src')).attr('src',
                $(this).attr('data-hover')).attr('data-hover',
                $(this).attr('tmp')).removeAttr('tmp');
        }).each(function () {
            $('<img />').attr('src', $(this).attr('data-hover'));
        }); ;
        $('input[data-hover]').hover(function () {
            $(this).attr('tmp', $(this).attr('src')).attr('src',
                $(this).attr('data-hover')).attr('data-hover',
                $(this).attr('tmp')).removeAttr('tmp');
        }).each(function () {
            $('<input />').attr('src', $(this).attr('data-hover'));
        }); ;
    });
}
This script will find all of the <img /> and <input /> elements with data-hover attributes and wire up handlers for the hover events.
Now we’ll add a reference to the external JavaScript …
<script src="/Scripts/Demo.js" type="text/javascript"></script>
… and add a call to the InitRollOvers() function on document ready.
    <script type="text/javascript">
        $(document).ready(function () {
            InitRollOvers();
        });
    </script>
Here is the whole html page all finished up:
<!DOCTYPE html>
<html>
    <head>
        <title>Index</title>
        <script src="/Scripts/modernizr-1.7.min.js"
                    type="text/javascript"></script>
        <link href="/CSS/Demo.css" rel="stylesheet"
                                     type="text/css" />
    </head>
    <body>
        <div>
            <h1>RollOver Demo</h1>
            <img src="/Images/wordpress.png"
                    data-hover="/Images/wordpress.hover.png"
                    alt="WordPress" />
            <br /><br />
            <img src="/Images/twitter.png"
                     data-hover="/Images/twitter.hover.png"
                     alt="Twitter" />
        </div>
    </body>
    <script src="/Scripts/jquery-1.7.1.min.js"
                type="text/javascript"></script>
    <script src="/Scripts/Demo.js"
                type="text/javascript"></script>
    <script type="text/javascript">
        $(document).ready(function () {
            InitRollOvers();
        });
    </script>
</html>
If you view the html page now the images should “light up” when the mouse is over them.
Wrap Up
If you add the external script files and the document ready script to your ASP.Net Master Pages you can simply add the data-hover attributes to your images and your RollOver effects should just work. Even better, since our InitRollOvers() function looks for both <img /> and <input /> tags you can just add data-hover attributes to your ASP.Net ImageButtons and they will get wired up as well.
If you use this technique along with Microsoft ASP.Net Ajax Update Panels the hover effect handlers will break when the partial-postback occurs. To fix this you will want to add the following line to your document.ready function right after the InitRollOvers() call:
Sys.WebForms.PageRequestManager.getInstance().add_endRequest(InitRollOvers);
This tells the script manager to call our InitRollOvers() function when an Ajax-postback completes.


