There are plenty of tools available these days that a developer or development team can use to set up continuous integration/deployment. AppVeyor is one such tool that I first heard about last spring (May 2014) when reading a post by Scott Hanselman entitled “AppVeyor – A good continuous integration system is a joy to behold“. I thought it sounded pretty interesting and so I gave it a try. It was so easy and simple to set up that I had builds up and running in 15 minutes and I had it deploying to my Azure Websites account in under 30 minutes!
Getting up and running is straight forward assuming you already have GitHub and Azure accounts. These aren’t hard to set up either, but for the purpose of this demo I’ll be assuming you already have one of each. (Everyone does right?) To demonstrate how to get things set up I have created a little demo site and checked it into GitHub. It’s a very simple project which is basically the default ASP.NET MVC template. I’ve stripped out a few of the endpoints, changed the text on the one remaining page and added in some unit tests that can be run as part of our build. I’ll probably add onto this site later for other demos or just for fun, but for now this will be adequate for us to take a look at the build and deployment process using GitHub, AppVeyor and Microsoft Azure Websites.
Getting Set Up On AppVeyor
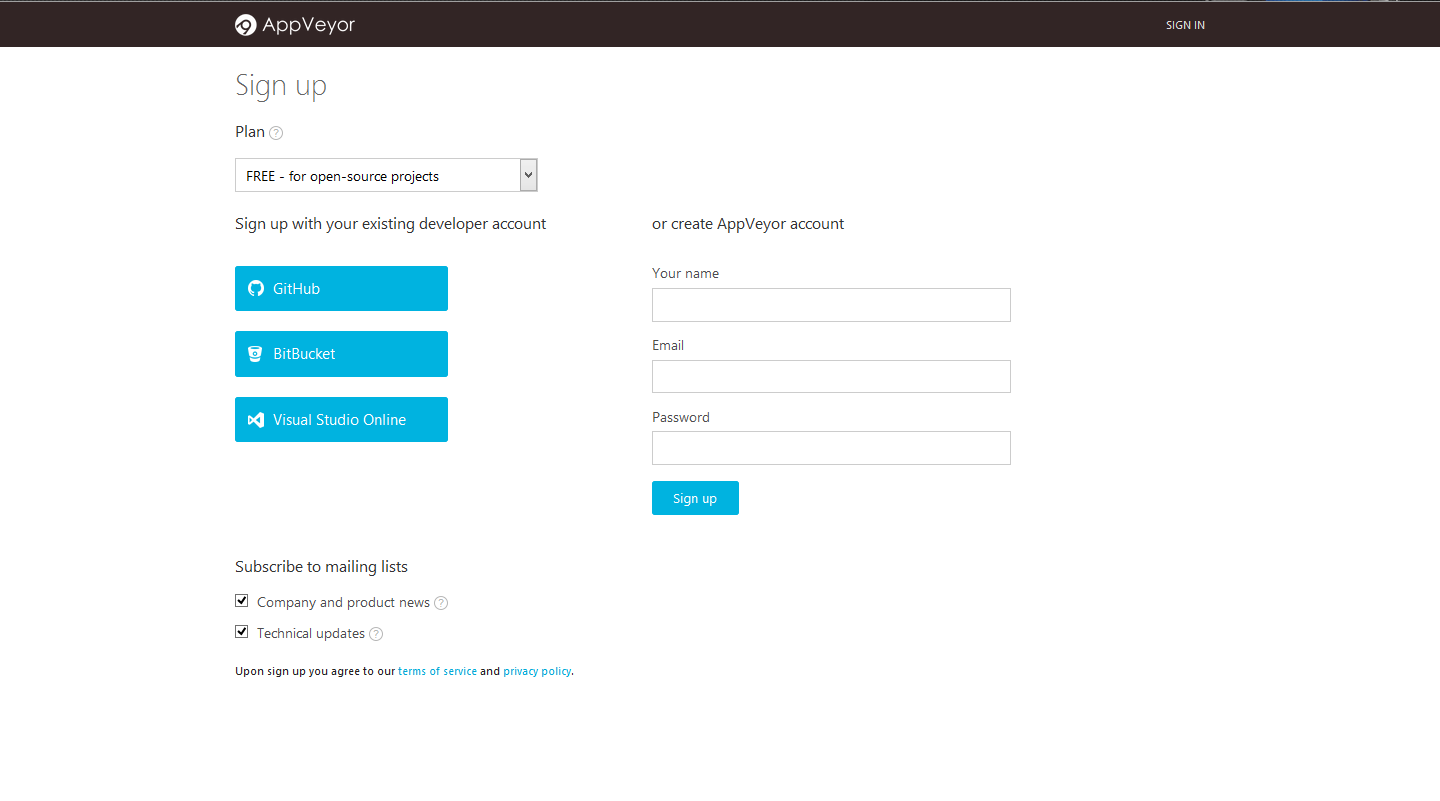
Now that we have an ASP.NET project on GitHub we can get started setting up AppVeyor to build our project. The first step is to set up our account. At the time of this writing there is a big green button labeled “SIGN UP FOR FREE” right on the home page. Click that button, select a plan (I’m choosing the “Free – for open-source projects” option), and choose log in with GitHub. You can also select BitBucket or Visual Studio Online if you would like to use one of those services instead. I have not tried them, but I would assume they work exactly the same.
Once you log into GitHub you will be presented with an authorization screen from GitHub.com asking you to confirm that you would like to authorize AppVeyor to access your account. Click “Authorize application” to authorize AppVeyor and continue with set up.
 Next you’ll see the project screen which will be empty at this time except for large item that says “+ NEW PROJECT”. Click this link to add a new project to your account. This will take you to a page to select the source control repository you would like to pull from. The page will default to GitHub and after a few seconds your GitHub Repositories will appear. If you now hover over the repository you would like to add a button will appear to the right so that you can add the repository. Click the add button.

Your First Build
At this point you should have things configured enough to build your repository. Simply click the “New Build” button on the right to start a build!
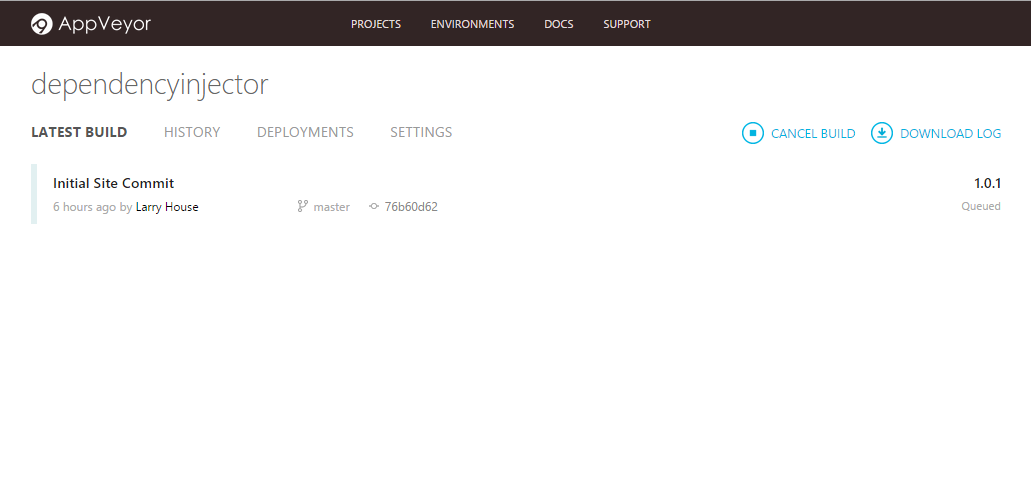 Notice that the build is now queued up, the site has pulled in the commit message, time and author and it has automatically incremented our version number to version 1.0.1. We can manipulate these version numbers in the settings if we wish as well allowing us to make it version 2.0, 2.1, etc. The server will simply keep incrementing the build number.
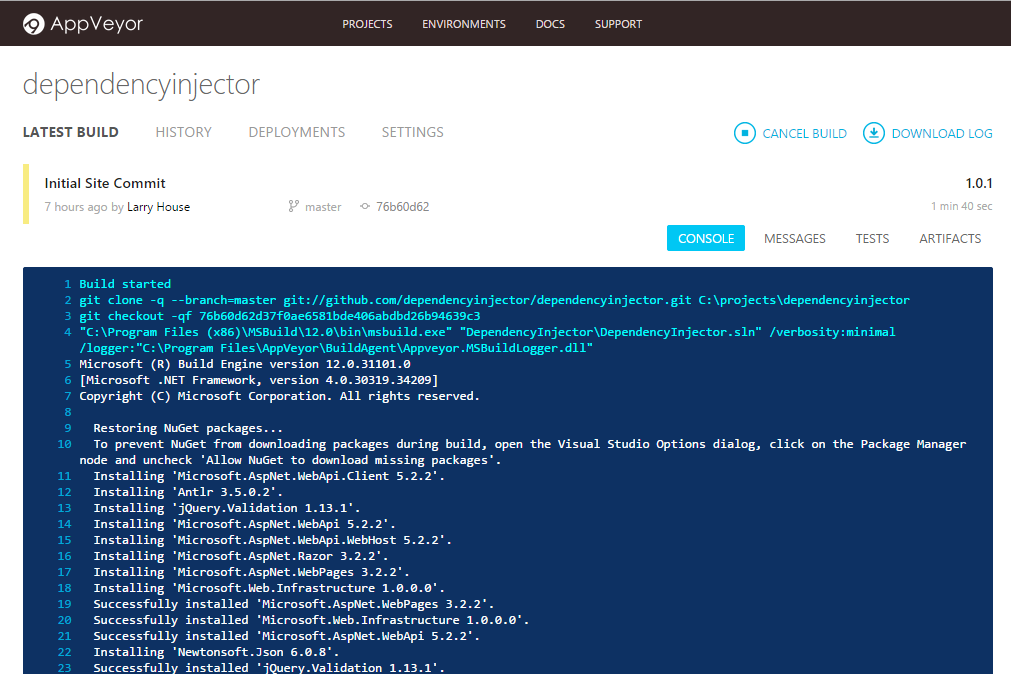
Once the build actually begins we will be able to view the console output.
And once it completes we will get a success or failure message.

Notice the green “Build Success” message. We now have everything configured and any time we commit on the master branch a build will be triggered. We can customize the branches that build etc. in the settings which I will dig into in a later post.
Also note here that the server has automatically detected and run our unit tests! Had any of our tests failed the server would have failed the build as well.
Setting Up Azure Websites
The first thing we will need to do in order to deploy our site to Azure is create the site in Azure. If you already have done this or your site is already live on Azure go ahead and skip ahead to the next step – Configuring Deployment.
Start off by going to the Microsoft Azure Portal (https://manage.windowsazure.com/) and once you are logged in click the “WEBSITES” link on the left side bar and then click the New button in the lower left corner.

A panel will appear at the bottom of the screen. Select “COMPUTE”, “WEBSITE” & “CUSTOM CREATE”.

Enter a URL for your website and click the check mark button.

After a little churning your site will be created. While we are here there is a little piece of information we will need later, so let’s get that now. Click on your new site in the websites list to view the details.

Now click the “Download the publish profile” link on the right side of the page and save it off to your local disc for later use.
Configuring Deployment
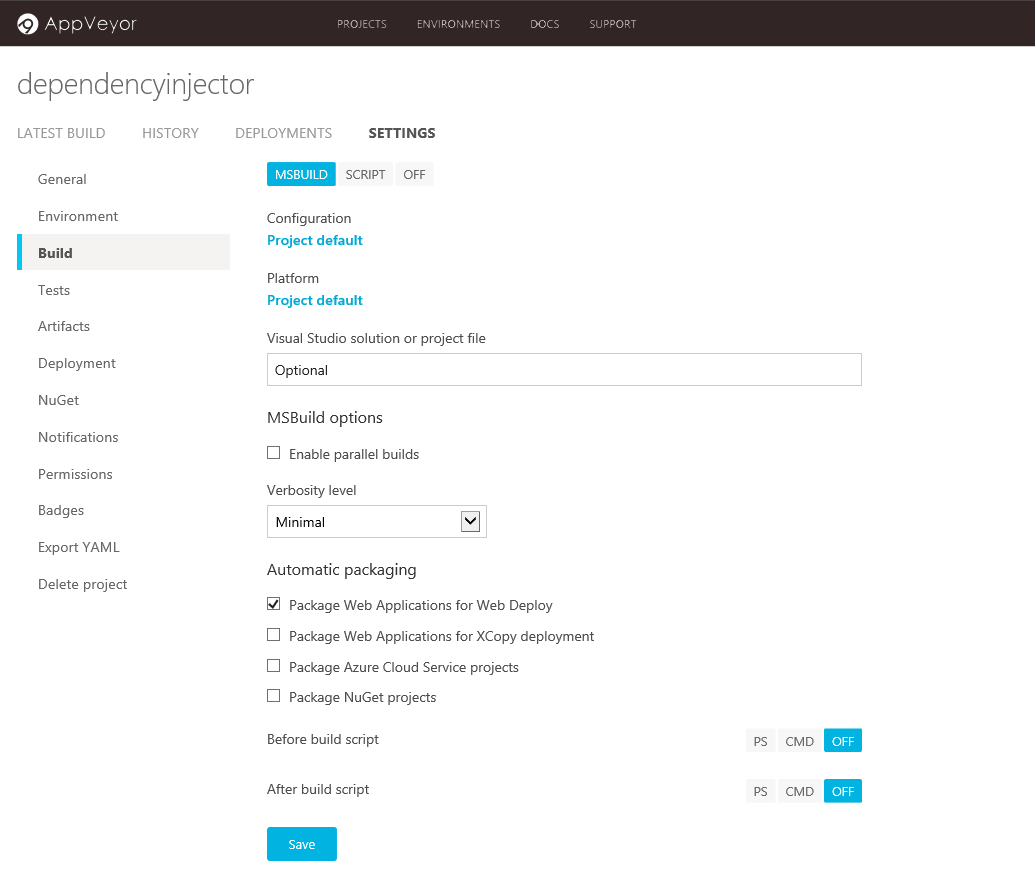
To configure your deployment go back to AppVeyor, select your project, click settings and then when the settings page loads go to the build section (third item down the left side). You’ll need to be sure the option “Package Web Application for Web Deploy” is checked and then save your changes.
Next go down to the Deployment section (three more items down). First click “Add Deployment” to add your first deployment and get started configuring it. You’ll need to select the “Web Deploy” deployment provider. This is where we need the info in the publish settings file we saved earlier. Specifically we need the settings publishUrl, msdeploysite, username, and userPWD. These values go into the fields in the deployment section as follows:
Server = https: //[publishUrl]/msdeploy.axd?site=[msdeploySite]
Website Name = [msdeploySite]
Username = [username]
Password = [userPWD]
You will also want to turn off NTLM.

Click the “Save” button and we should be ready to give it a try. To start a new build click “LATEST BUILD” and then “NEW BUILD”. Assuming we’ve done everything correctly a build of your project will queue up and if it is successful it should deploy to you site on Microsoft Azure.
The site is at: http://dependencyinjector.azurewebsites.net/
The GitHub Repository is at: https://github.com/dependencyinjector/dependencyinjector
The AppVeyor Build Information is at: https://ci.appveyor.com/project/lahouse/dependencyinjector
Resources
Documentation:
http://www.appveyor.com/docs/deployment/web-deploy#provider-settings
Scott Hanselman’s Blog Post: http://www.hanselman.com/blog/AppVeyorAGoodContinuousIntegrationSystemIsAJoyToBehold.aspx