Windows 8 Consumer Preview- Diving in head first

On February 29th Microsoft released the Consumer Preview (Beta) of Windows 8 and at that time I installed it on the Build Developer Tablet and in a virtual machine (VMware player).  For the most part I have been pretty happy with my experiences with the new O/S so far, so…  After a playing with it a few weeks on the tablet (and a little in the VM), I have taken the plunge and Installed it on my primary desktop machine.  Ok, I’m only partly committed, I set up a boot from VHD configuration so I can boot Windows 7 still and get things done if needed, but the plan is to try to use the Consumer Preview as my day to day operating system. 

One of the big motivating factors for me is that I really want to be able to spend some time developing (or at least playing with developing) Metro Applications.  I have done a bit in the VM and on the tablet, but It just seemed it would be easier with a full blown desktop system.  Not so much for the horsepower, the Build Tablet has plenty of power and memory, but rather the ergonomics of the situation.  I wanted to be able to work on a system with dual displays, and a full mouse and keyboard.  (Call me spoiled if you want…)

As compared to the Developer Preview that was released at the Build Conference in September the operating system as a whole seems more polished and more stable.  I haven’t experienced any of the hard lockups (requiring a reboot to recover) that I saw a few times with the Dev. Preview.  Most of the included applications seem more polished and reliable as well. 

I personally have found the mouse interaction better than the Dev. Preview, although I have read a lot of posts to the contrary.  I thought a few of the mouse interactions still need a bit of polish, particularly some of the interactions around the corners of the screens seem a bit jumpy, but since I have moved to running on the metal it seems much smoother.

I can’t express how happy I am that I can now close my Metro applications.  (Yeah ! Smile)  To close a Metro application via touch grab it by the top edge with a finger and drag it to the bottom of the screen.  It takes a little experimenting to get the hang of it, but it quickly became second nature.  With a mouse you can move the pointer to the top edge of the screen and it will change to a hand, then just click and drag it down top the bottom edge.

Now that I have things running on dual displays there are a couple of things that are bugging me.

  1. I can only run the Start Screen and Metro Apps on the primary display which feels kind of odd.  Why can’t I put a Metro app on the second screen?  Weird…

    MetroApp

  2. Using an app on the desktop on the second screen while having the Start Screen up on the Primary screen results in some odd behavior.  (The Screen goes blank)

    BlankStartScreen

  3. If I have an app on the desktop running on the primary screen with the Start Screen up (Covering the desktop app) and I click on the desktop on the second screen I can’t get to my application.  The start screen goes blank, so it feels like the desktop has focus, but there doesn’t appear to be a way to get to my app.

    Windows 8 Desktop

Windows 8 Consumer Preview Released

If you hadn’t heard, Windows 8 Consumer Preview was released this morning (you can get it at http://preview.windows.com/).  So far I have installed it on both the Build Developer Tablet and in a Virtual Machine (VMware Player) and both installs were relatively quick and painless.

So far it seems stable (5 hours in LOL).  It seems to be coming together fairly nicely.  Once I have had some time to work with it a bit, I’ll post something a bit more substantial.  For now here is some screen shots. 

The Lock Screen

LockScreen

The Start Screen

StartScreen

Notice you can now choose from a few color schemes and texture patterns for the Start Screen.  Also you can now group items.


The App Store

Store


Included Apps

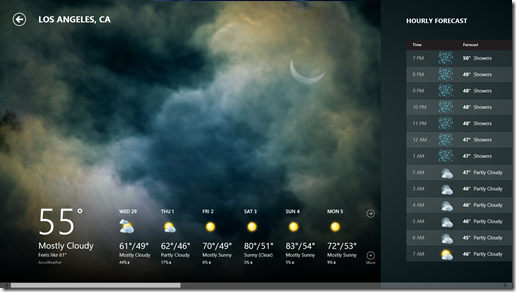
Weather

Weather


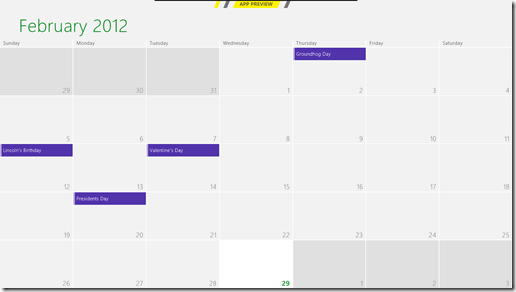
Calendar

Calendar

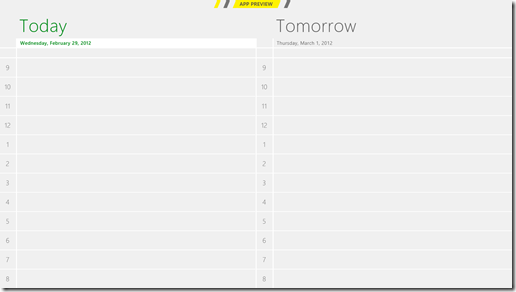
Calendar.Day


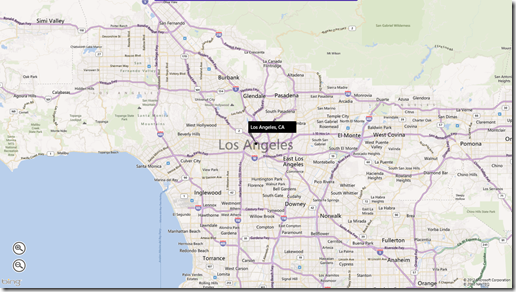
Maps

Maps

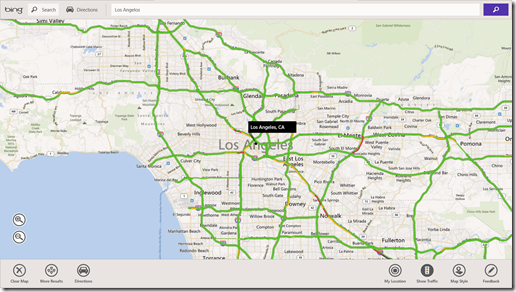
Maps.Traffic


Solitaire (of course)

Solitaire


Visual Studio 11 Beta on Windows 8

Microsoft also released the Beta version of Visual Studio 11 this morning.  Here’s a quick shot of the new Dark Theme.

VisualStudio.11

You can download the Visual Studio 11 Beta from http://www.microsoft.com/visualstudio/11/en-us

RollOvers with HTML5 data- attributes and jQuery

Here’s a nice, clean way to set up image roll over effects on your web sites using the new HTML5 data- attributes and a little jQuery.

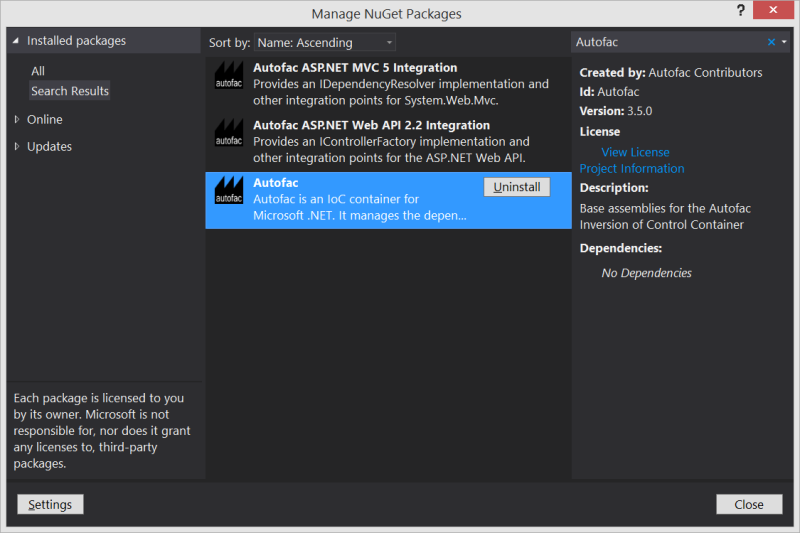
To demonstrate I am going to create a new web project in Visual Web Developer Express 2010. For starters we’ll add the jQuery and Modernizr JavaScript libraries using the Nuget Package Manager.

nuget

Next we’ll set up a basic html page with 2 images on it.

<!DOCTYPE html>
<html>
    <head>
        <title>Index</title>
        <script src="/Scripts/modernizr-1.7.min.js" type="text/javascript"></script>
        <link href="/CSS/Demo.css" rel="stylesheet" type="text/css" />
    </head>
    <body>
        <div>
            <h1>RollOver Demo</h1>
            <img src="/Images/wordpress.png" data-hover="/Images/wordpress.hover.png" alt="WordPress" /> 
            <br /><br />
            <img src="/Images/twitter.png" data-hover="/Images/twitter.hover.png" alt="Twitter" />
        </div>
    </body>
    <script src="/Scripts/jquery-1.7.1.min.js" type="text/javascript"></script>
</html>

Note the reference to the Modernizr.js script near the top and to the jQuery script near the bottom.  Usually I place all my JavaScript references near the bottom so they don’t hold up the loading of the page itself and the images.  It is however important to load the Modernizr script near the top so that it can work correctly.  If we view our page now it should look something like this:

Screen

Next we need to add an external JavaScript file and add the following function inside this file.

function InitRollOvers() {
    $(function () {
        $('img[data-hover]').hover(function () {
            $(this).attr('tmp', $(this).attr('src')).attr('src',
                $(this).attr('data-hover')).attr('data-hover', 
                $(this).attr('tmp')).removeAttr('tmp');
        }).each(function () {
            $('<img />').attr('src', $(this).attr('data-hover'));
        }); ;
        $('input[data-hover]').hover(function () {
            $(this).attr('tmp', $(this).attr('src')).attr('src',
                $(this).attr('data-hover')).attr('data-hover', 
                $(this).attr('tmp')).removeAttr('tmp');
        }).each(function () {
            $('<input />').attr('src', $(this).attr('data-hover'));
        }); ;
    });
}

This script will find all of the <img /> and <input /> elements with data-hover attributes and wire up handlers for the hover events.

Now we’ll add a reference to the external JavaScript …

<script src="/Scripts/Demo.js" type="text/javascript"></script>

… and add a call to the InitRollOvers() function on document ready.

    <script type="text/javascript">
        $(document).ready(function () {
            InitRollOvers();
        });
    </script>

Here is the whole html page all finished up:

<!DOCTYPE html>
<html>
    <head>
        <title>Index</title>
        <script src="/Scripts/modernizr-1.7.min.js" 
                    type="text/javascript"></script>
        <link href="/CSS/Demo.css" rel="stylesheet" 
                                     type="text/css" />
    </head>
    <body>
        <div>
            <h1>RollOver Demo</h1>
            <img src="/Images/wordpress.png" 
                    data-hover="/Images/wordpress.hover.png" 
                    alt="WordPress" /> 
            <br /><br />
            <img src="/Images/twitter.png" 
                     data-hover="/Images/twitter.hover.png" 
                     alt="Twitter" />
        </div>
    </body>
    <script src="/Scripts/jquery-1.7.1.min.js" 
                type="text/javascript"></script>
    <script src="/Scripts/Demo.js" 
                type="text/javascript"></script>
    <script type="text/javascript">
        $(document).ready(function () {
            InitRollOvers();
        });
    </script>
</html>

If you view the html page now the images should “light up” when the mouse is over them.

Wrap Up

If you add the external script files and the document ready script to your ASP.Net Master Pages you can simply add the data-hover attributes to your images and your RollOver effects should just work.  Even better, since our InitRollOvers() function looks for both <img /> and <input /> tags you can just add data-hover attributes to your ASP.Net ImageButtons and they will get wired up as well. 

If you use this technique along with Microsoft ASP.Net Ajax Update Panels the hover effect handlers will break when the partial-postback occurs. To fix this you will want to add the following line to your document.ready function right after the InitRollOvers() call:

Sys.WebForms.PageRequestManager.getInstance().add_endRequest(InitRollOvers);

This tells the script manager to call our InitRollOvers() function when an Ajax-postback completes.

The communication object, System.ServiceModel.Channels.ServiceChannel, cannot be used for communication because it is in the Faulted state.

Today was the first time I have worked on our Azure application in quite a while, so I was unpleasantly surprised when I got the latest version of the code, clicked run and was greeted with :

The communication object, System.ServiceModel.Channels.ServiceChannel, cannot be used for communication because it is in the Faulted state.

CommunicationObjectFaultedException

After a lot of poking around and reinstalling the SDK I finally found the solution.  Apparently when running an application under Azure SDK version 1.3 the development environment needs to modify the web config in some way.  However, since I am using TFS for source control, the file was marked readonly and could not be edited.

The work around seemed pretty simple, just remove the readonly flag and off we go.  The next problem is that every time you get latest from source control the file gets marked readonly again and now it won’t run. 🙁  To get around this just add a post-build command to your project to automatically remove the readonly flag when you run your project.   To do this right-click on your project in the Solution Explorer and select properties.  Go to the Build Events tab and enter the command : attrib -r “$(ProjectDir)Web.Config” .

attrib -r "$(ProjectDir)Web.Config"